For detailed CNC Christmas ornaments, design the wood that remains—not only the lines the cutter follows. The hanger and motif need an intentional physical connection after the waste is removed. Where a pierced detail leaves an isolated center or a fragile sliver, simplify it, reconnect it, engrave it instead, or support it as part of a deliberately layered design.
A crisp vector preview answers a drawing question. It does not establish that a small wooden snowflake will stay together during release, finishing and handling. The most useful design review separates three things: the finished body, the spaces the tool must remove, and the temporary support used while machining.
Read the ornament as retained wood and empty space
Imagine an original, hypothetical snowflake inside a circular ring, with a small star in the center and a hanging loop at the top. The lines are closed and the composition looks balanced. Yet if the star is completely surrounded by a through-cut, it becomes a separate piece. Its outline can be perfectly valid while its connection to the ornament is missing.
Trace the finished wood from the hanging loop into the ring and through the motif. Identify which regions connect, which are intended waste, and which would become loose pieces. A shape merely touching another shape at a mathematical point is not a useful wooden connection. The design needs actual material where a connection is intended.
Vectric's Boolean-operations documentation explains how overlapping closed areas can be welded into a combined outline. That can help build the intended retained shape, but grouping objects or drawing a line across a gap is not the same thing. Inspect the resulting boundaries and calculated machining result rather than trusting the appearance of overlapping artwork.

This is a different task from preserving every line in a picture. The ornament can remain recognizably a snowflake even if minor branches disappear or its center becomes an engraved star. Decide which features carry the subject before spending effort on details that make the finished body less practical.
A narrow gap and a narrow rib are different problems
A gap is material you intend to remove. A rib is material you intend to keep. For a through-profile made with a straight cylindrical end mill, the tool's cutting diameter limits which narrow gaps it can enter and leaves radiused internal corners. Redrawing the path cannot make that cutter pass through a narrower slot without removing additional material.
A smaller cutter may open a finer gap, but it does not strengthen the wood between neighboring cuts. The retained rib still depends on its geometry, stock and handling. Tool access and the durability of the remaining body therefore need separate decisions.
Scaling down a design exposes this distinction. The snowflake branches, hanging loop and gaps all shrink with the artwork; the chosen cutter does not. An attractive full-size motif can become a poor small ornament even though the software has scaled every vector consistently. Inspect the final physical dimensions, not a zoomed view that makes tiny features look generous.
There is no universal web width or thickness that works for every wood ornament. Grain direction, species, plywood layers or voids, stock condition and the shape around a connection all affect what remains. A narrow tip can also be damaged during sanding or handling after the machining has ended. Treat any proposed minimum as something to evaluate in the actual design and stock, not as a guarantee from the machine category.
Keep fine detail on a continuous face when it does not need to be pierced
Not every line needs light passing through it. Shallow routed detail can define a snowflake's secondary branches while the face underneath remains continuous. A change of color or finish can make those lines visible without turning them into freestanding slivers.
Vectric's Christmas tree-decoration project provides a real example of separating shallow patterns, string holes and the final outside profile. Its particular cutter, depth, runtime and finishing choices belong to that project, not to every desktop CNC setup. The useful design option is that visual patterning and through-cutting can be different operations.
For the hypothetical ring-and-snowflake ornament, one version could keep broad main branches connected to the ring and engrave the finer branch lines. Another could keep a solid circular face and engrave the entire snowflake. The first has open areas and stronger contrast with the background; the second retains more continuous material and may suit a design whose character comes from line work.
A layered version is another distinct choice. Separate stars or branch details can be attached to an intentional backer using a suitable assembly design. That is not a failed one-piece cutout if it was planned as an assembly from the beginning. Account for the backer, attachment, finish and hanging arrangement instead of assuming loose pieces will somehow remain aligned after release.
Do not confuse machining tabs with the finished connections
Vectric's toolpath-tabs documentation describes small sections left uncut to retain parts during profile cutting. These help manage the machining stage; they are commonly removed during separation and cleanup.
A permanent rib in the ornament has another job: it belongs to the finished shape. If a center star is connected only by temporary tabs that you later remove, it becomes a separate star. Increasing the number of temporary tabs does not correct that final design problem.
If you intend to leave a connection permanently, design and evaluate it as part of the final body. Do not rely on an incidental CAM-tab height or a partially cut strip whose dimensions will change during sanding. The label “bridge” can be used for both purposes, so be explicit about what stays and what is removed.
The release plan still matters. A connected ornament can shift if it is inadequately held, while a securely retained sheet can contain a poorly connected finished design. Review both, using the actual toolpath and holding arrangement. Do not treat success in one stage as evidence for the other.
The hanger belongs in the first drawing
A hanging loop should not be a tiny afterthought added once the snowflake is complete. Its opening needs to accept the intended cord or ribbon, and the surrounding wood must remain part of the ornament after all nearby cuts and finishing. Moving a decorative void toward the loop can reduce that surrounding material without changing the hole itself.
Also consider the hanging direction. A centered hole in the drawing may not produce the desired orientation when one side of the ornament contains more material than the other. Check a representative finished piece with its intended attachment rather than assuming that visual symmetry on screen proves how it will hang.
Finish edges where the cord contacts the opening and where people will handle the ornament. Keep decorative wood away from flame and unsuitable heat sources. Material and finish should suit the intended use; a wooden decoration is not automatically a certified toy or suitable for food contact.
Take the final-scale design to the machine, not just the motif
For CNC Christmas projects on an ED1 enclosed desktop CNC router, consider the blank, holding arrangement, cutter and travel clearance as one setup. A small finished ornament can still require surrounding stock and access that are not visible in its decorative outline.
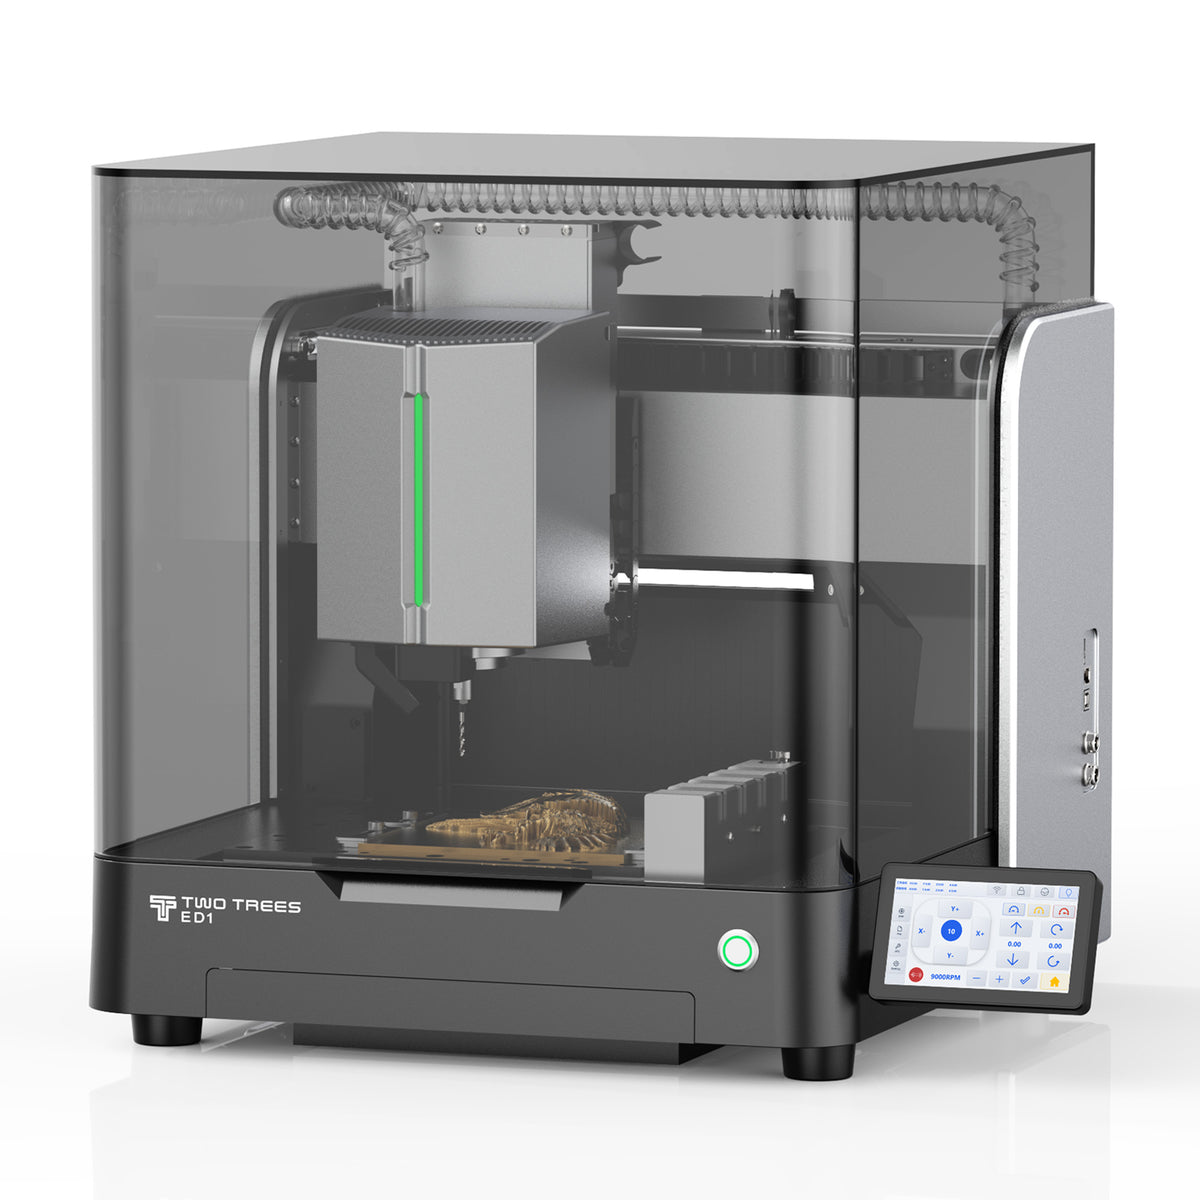
Choose CNC router bits for wood after deciding which details are profiles, shallow marks or pockets. Check each tool's exact material guidance, shank, geometry and reach against the installed setup. A CNC wood carving machine and an assorted bit set do not establish that every downloaded pattern or tiny feature is practical.
Check the calculated paths and the planned release before machining a representative piece. Use appropriate workholding, extraction, protection and supervision, and stop and isolate the equipment before setup or hands-on inspection. After controlled removal, examine the narrow connections, hanging area and finished detail. Include the intended sanding and attachment in that assessment; they are part of making the ornament, not cosmetic tasks outside the design.
Return to the hypothetical snowflake: connect the center deliberately, enlarge or simplify inaccessible gaps, move fine secondary detail into engraving, and give the hanger an intentional place in the retained body. If the desired pierced look cannot meet those conditions at the chosen size, use a solid-face treatment or a planned backer. The goal is a recognizable Christmas decoration whose actual construction supports the detail you kept.