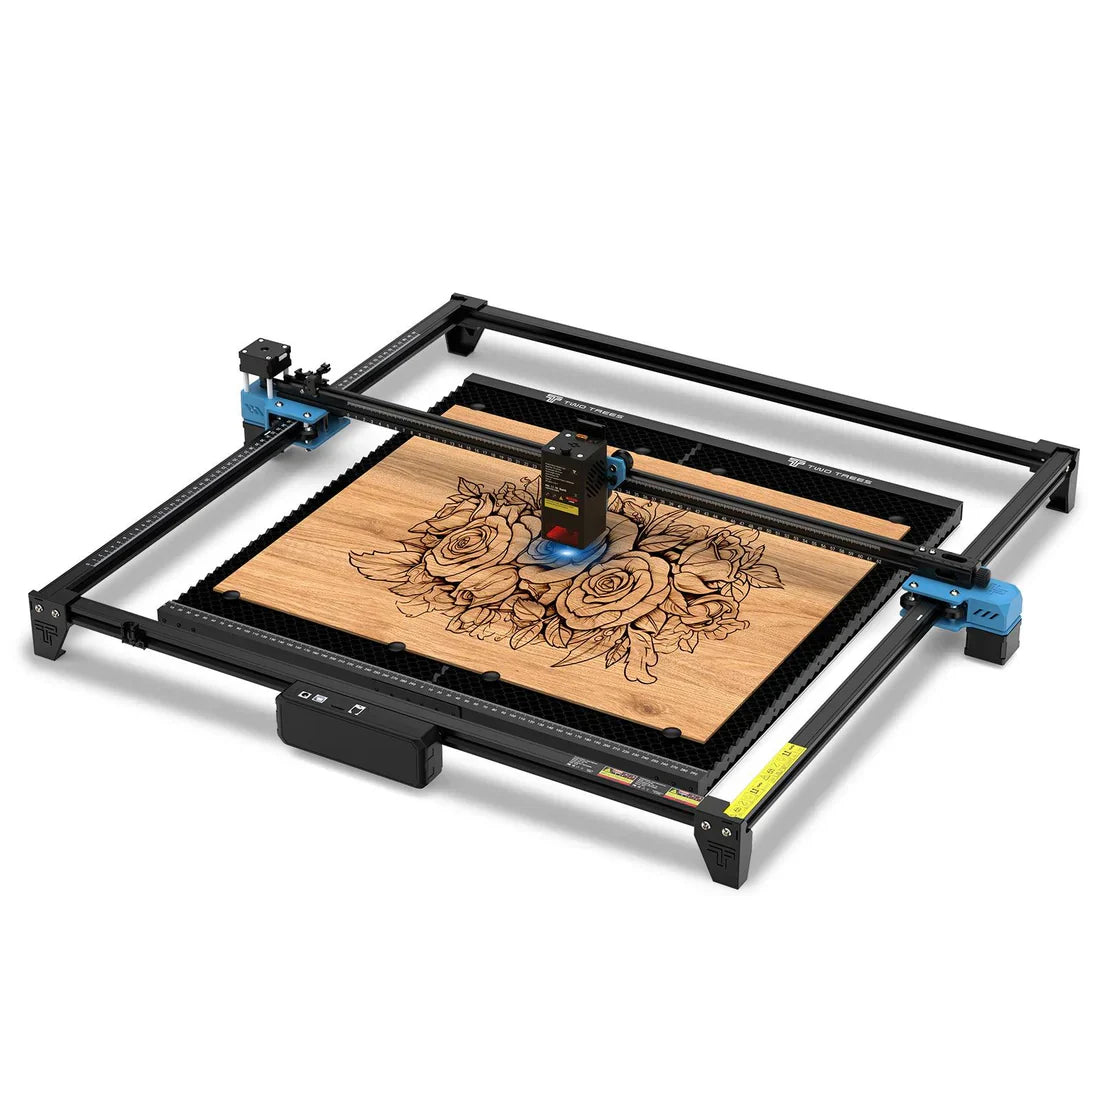
Laser engraving is one of the most rewarding tools in a maker’s workshop—allowing you to create intricate artwork, personalized gifts, signage, and functional wood products right from your desktop. But to get clean, consistent results, it’s crucial to follow a clear, repeatable workflow. Whether you’re using a diode laser or just getting started with a new laser engraver, this guide walks you through each step of the laser engraving process—from preparing your design file to post-processing your finished piece. If you're new to laser engraving wood or looking to improve your results, this 5-step workflow is the best place to start.
Step 1: Design Preparation
Before you power on your laser, your design file needs to be properly prepared. Clean design data ensures clean cuts and engravings.
Here are the essential steps:
- Use vector file formats such as SVG or DXF. These formats are resolution-independent and ideal for precise laser work.
- Convert all text to outlines or paths so the font displays correctly even if your laser software doesn’t have the font installed.
- Set your document dimensions to match your material size exactly. This helps avoid alignment issues later.
- Ensure line thickness is set to minimum (often called “hairline” or 0.001”) to define cut lines clearly.
- Simplify your design—remove unnecessary anchor points and avoid overly complex curves. This results in faster, smoother engraving with fewer errors.
Tip: For first-time users, start with clean, simple shapes or silhouettes. Avoid raster images or intricate photo engraving until you’ve mastered the basics.
Step 2: Material Setup
Once your file is ready, it’s time to prepare the work area and material.
- Select the right material: For engraving wood, basswood and maple are excellent beginner choices. They are soft enough for low-power lasers and produce clean, consistent results.
- Ensure the wood is flat and secured to the work bed. Warped materials can cause misalignment or uneven engraving depth.
- Clean the workspace: Remove all flammable materials from the area, including paper, alcohol-based sprays, or rags.
- Set up ventilation: Laser engraving generates smoke, soot, and possibly fumes. If you don’t have a dedicated exhaust system, position a fan near an open window to draw smoke away from the machine.
Proper setup minimizes fire hazards and ensures optimal engraving quality.
Step 3: Software Configuration
With your material in place, it’s time to configure the engraving job in your laser software.
- Import the design file (SVG or DXF) into your laser control software (such as LightBurn, LaserGRBL, or the manufacturer's software).
- Align the origin point: Make sure your machine knows where to start engraving. Set the origin (usually lower-left) in software to match your actual material corner.
-
Use beginner-friendly settings:
- Power: 50%
- Speed: 20 mm/s
- 1 pass unless deeper engraving is needed
- Use the “frame” or “preview” function to check alignment and scale before starting.
- Run a test on scrap wood before engraving your final piece. This helps you verify both placement and power/speed settings.
Note: Not all wood reacts the same. Softer woods engrave faster but may char more easily, while harder woods may require slower speeds.
Step 4: Engraving Process
It’s time to start engraving—but safety and attention to detail are essential.
- Wear laser-rated protective eyewear—especially important with open-frame diode lasers.
- Keep ventilation running during the entire job. This reduces smoke buildup and helps maintain a cleaner engraving.
- Perform a dry run (position test) with the laser off to verify the head travels within your material bounds.
- Start the engraving job and monitor it closely, especially during the first few minutes.
- Never leave the machine unattended during operation. Even small diode lasers can start fires if materials ignite.
Stay within reach of the emergency stop or power switch in case you need to intervene quickly.
Step 5: Final Processing
Once your engraving is complete, a few final steps will take your project from good to great.
- Let the wood cool fully before handling to prevent burns or smudging.
- Clean the surface with a soft, dry cloth to remove soot or smoke marks. If residue is heavy, use a damp cloth or isopropyl alcohol (only for non-food items).
- Lightly sand the edges if there’s charring or splintering, especially on cut lines.
- Apply a finish: For cutting boards, coasters, or serving trays, use food-safe mineral oil. For decor pieces, a light polyurethane spray or wax can enhance contrast and durability.
- Ventilate the room post-engraving to continue clearing airborne particles and fumes.
Final Thoughts: Stay Safe, Start Simple
Laser engraving is an exciting entry point into digital fabrication. With the right setup and attention to detail, you can create personalized wood gifts, signage, home goods, and more.
By following this 5-step laser engraving workflow—design preparation, material setup, software configuration, active engraving, and final processing—you’ll minimize errors, maximize safety, and get consistent, professional-looking results even as a beginner.
Looking for a reliable laser engraver to start your journey? Explore TwoTrees Laser Engravers, including:
- TTS-20 Pro: Ideal for beginners with a strong frame and easy setup.
- TTS-20 Max: Larger working area with upgraded features.
- TS3 Enclosed Laser: Fully enclosed design with built-in exhaust for safe indoor use.
Frequently Asked Questions about Laser Engraving Wood
What is the best wood for laser engraving?
Basswood, maple, and birch plywood are excellent choices for beginners. They engrave cleanly, produce minimal resin or smoke, and work well with both diode and CO₂ lasers. Avoid woods with high oil or resin content (like pine), as they can char easily and produce sticky residue.
Can a diode laser cut wood or just engrave it?
Diode lasers can engrave and cut wood, but their cutting ability depends on the laser's power and the wood’s thickness. For example, a 10W diode laser can cut thin basswood (1.5–3mm) with multiple passes. For thicker or hardwood cutting, a CO₂ laser is more efficient.
Do I need special software for laser engraving?
Yes. Popular choices include LightBurn (paid, feature-rich) and LaserGRBL (free, Windows-only). Both support SVG and DXF files and allow fine control over speed, power, and pass count. For design work, tools like Inkscape or Adobe Illustrator are commonly used.
Why is my engraving coming out too light or too dark?
Overly light engravings are often caused by low power or high speed settings. Dark or burned engravings usually mean the power is too high or the laser is moving too slowly. Run test engravings on scrap wood to dial in optimal settings for your specific material.
How do I remove burn marks or smoke residue?
Wipe the engraved area with a soft, dry cloth or lightly damp paper towel. For tougher residue, use isopropyl alcohol or sandpaper (220–400 grit). Pre-masking your wood with painter’s tape before engraving can also help reduce surface scorching.
Is ventilation really necessary for small diode lasers?
Yes. Even low-power lasers produce smoke and fine particulates during engraving. Always run a fan near an open window or use an air assist and filtration setup. Proper ventilation protects your health and improves engraving quality by clearing smoke from the laser path.


